
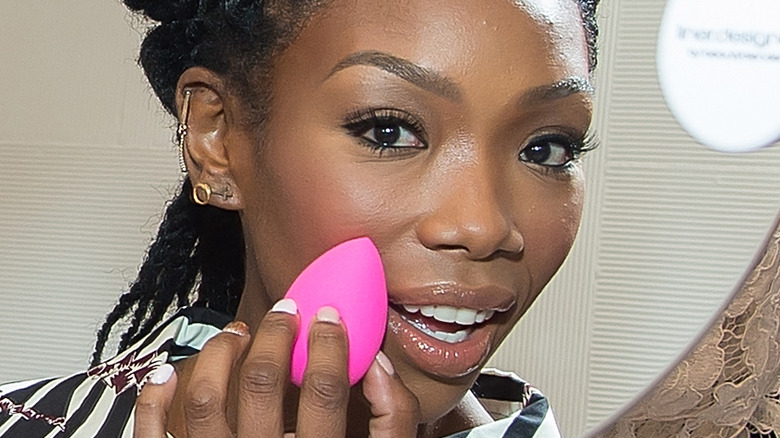
Washing your Beauty blender or cosmetic pad on a regular basis will extend the life of the tool and assist you in avoiding acne. There are several methods for cleaning a makeup sponge. The two most common techniques are to use brush shampoo and immerse the item in boiling water with liquid soap. We put four alternative methods on how to clean a makeup sponge into the exam and evaluate their efficacy. Interestingly, dish soap performed well. Theoretically, cleaning your Beauty blender is simple. Drain, rinse, and repeat.
On the other hand, do you recall the popular Reddit thread where users were hacking open their Beauty blenders to discover revolting amounts of coverage inside? Yes, We also do it each time we use a makeup sponge. I’m not sure what to say to you if that isn’t sufficient to get you wondering how to clean a Beauty blender thoroughly.
Why Should You Clean Your Makeup Blender?
In numerous respects, dirty cosmetic sponges are unattractive. The first issue is hygiene. Every time you use a dirty Beauty Blender or cosmetic sponge. It can serve as a genuine breeding ground for various germs and bacteria that are subsequently transferred to your face.
Second, the color of whatever products you’re applying may be impacted by the unclean sponge’s inability to perform as well due to its layers of the old foundation.
Even if your Beauty blender or sponge has antimicrobial characteristics, that doesn’t ensure it will always remain fresh. Rather, antimicrobial properties only make the sponge less conducive to bacterial growth. However, that does little to ease the pile, which can cause pimples, redness, and inflammation.
It is also known that because there is so much material accumulation when your beauty sponges aren’t regularly cleaned, they don’t work as well as they should.
Although it may seem like a bit much to ask, cleaning your makeup sponge at least once or twice a week is not difficult. In truth, there are a few cleaning methods for a Beauty blender that need little time or work from you. Below are our opinions on each method after testing them all to see which ones are the most effective.
Fortunately, cleaning your makeup sponge doesn’t take too long. It’s 2022, fellas; whether you’re using a washing pad, your hand, or simply some dish soap, there are a trillion cosmetic brush cleansers and tried-and-true YouTube instructions to guide you along the way. Definitely wash your sponges tonight after you continue reading. Hence, we arrive at today’s topic of discussion. How to clean a makeup sponge? Keep reading.
Ways on How To Clean A Makeup Sponge
Let’s check out how to clean a makeup sponge using simple and effective steps below:
1. Using a cleaning pad
How do you properly clean a cosmetic sponge? Applying just enough pressure to actually clean it without harming it. Little sponges are sensitive, as you are aware. Because it provides us with a soft but efficient area to thoroughly clean our Beauty blender without damaging or tugging it, we adore utilizing a nicely textured silicone pad.
- First, wet the sponge. Under running water, gently press your sponge until it is completely saturated.
- Add some soap in step two. To properly soak the mitt, squirt some cleaning solution or massage a bar of soap along it. We like to use every day, unscented soap.
- Next step, we wash and scrape. Without straining or yanking, run your sponge over the silicone nibs until the cosmetic traces are cleared, and then cleanse until clear water appears.
- Fourthly, dry. Set your sponge aside and allow it a lot of air movement to dry. In fact, wiping your makeup sponge in a small area can encourage the growth of mildew.
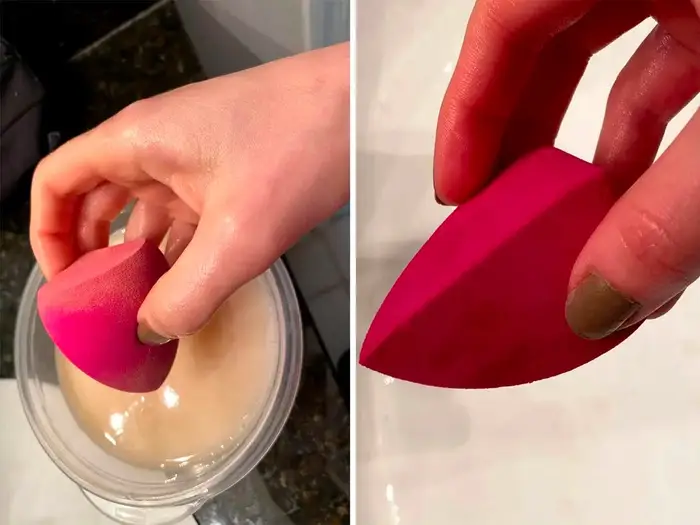
2. Using the soak method
Consider the double-cleansing technique if you’re a fanatic, and just a few spots on an otherwise spotless Beauty blender will definitely break your heart. To get rid of every last trace of sticky residue, immerse your sponge in liquid cleaner and then gently scrub it with bar soap.
- First, soak. Squeeze/dunk your dirty sponge into the detergent solution by combining a few drops of fluid cleanser with a little bowl of warm water. Give it five minutes to soak.
- Next, scrub. To effectively remove spots and deposits, really rub the sponge into the soap bar. Use your hands to rub the soap further into the sponge once you’ve created a lather.
- Lastly, rinse. When the sponge begins to leak old makeup, wash it with clean water. Knead it a few times to remove all of the detergents. Set apart for drying.
3. Using the washing machine
Let me present you with the oven approach if you’d prefer not to spend all that time cleaning and wetting your sponges than to run the danger of developing a serious breakout. All it takes to sterilize your cosmetics is a fast zap. The act of microwaving the sponge in soapy water is basically an enhanced version of cleaning it in your washing machine, which rinses clothes with detergent and hot water.
Try the microwave approach if you want to take additional precautions to kill bacteria without using a washer and dryer. Follow the instructions below to avoid having melted waste if you simply throw it in there. (Alprazolam)
- First, combine soap and water. Mix water and a few squirts of soap in a cup that can be used in the microwave (a mug works great). No precise dimensions are required; only ensure that the sponge can be completely soaked. Put your sponge in soapy water after wetting it with clean water. Olive oil can also be added for additional cleaning.
- Step two is to heat it. After about a minute in the microwave, let the cup cool completely before grabbing it. The fluid must be completely filled with makeup, and your sponge should be spotless.
- Step three is to squeeze and wash. Before pressing out any remaining foundation, give it one more rinse under warm, running water. Organize for air drying.
How to Take Better Care of the Beauty Blender?
Theoretically, washing your makeup sponge after each use is a good idea. So you’ll want to be certain that you understand how to do it without damaging it. Avoiding strong cleansers of any kind is vital, as is giving your Beauty Blender some extra tender loving care.
When drying it out, squeeze it lightly rather than rubbing or scrubbing too hard. When it’s time for drying, make sure you’re allowing it to dry completely in a well-ventilated space. To avoid having any moist spots, you should usually prop it up so that wind can easily flow around it.
When is the Time to Change Your Beauty Blender?
Your sponge may occasionally be beyond repair. If you use your beauty blender daily and take good care of it, it is advised replacing it every three months. He says it may last up to six months or longer if you only use it rarely. Keep an eye out for these warning signals to know when to throw away your makeup sponge:
- Persistent spots that won’t go away
- Pulls or tears
- Rather than being plump and bouncy, a blender that has lost its “bounce” feels limp and squishy.
Conclusive Insights
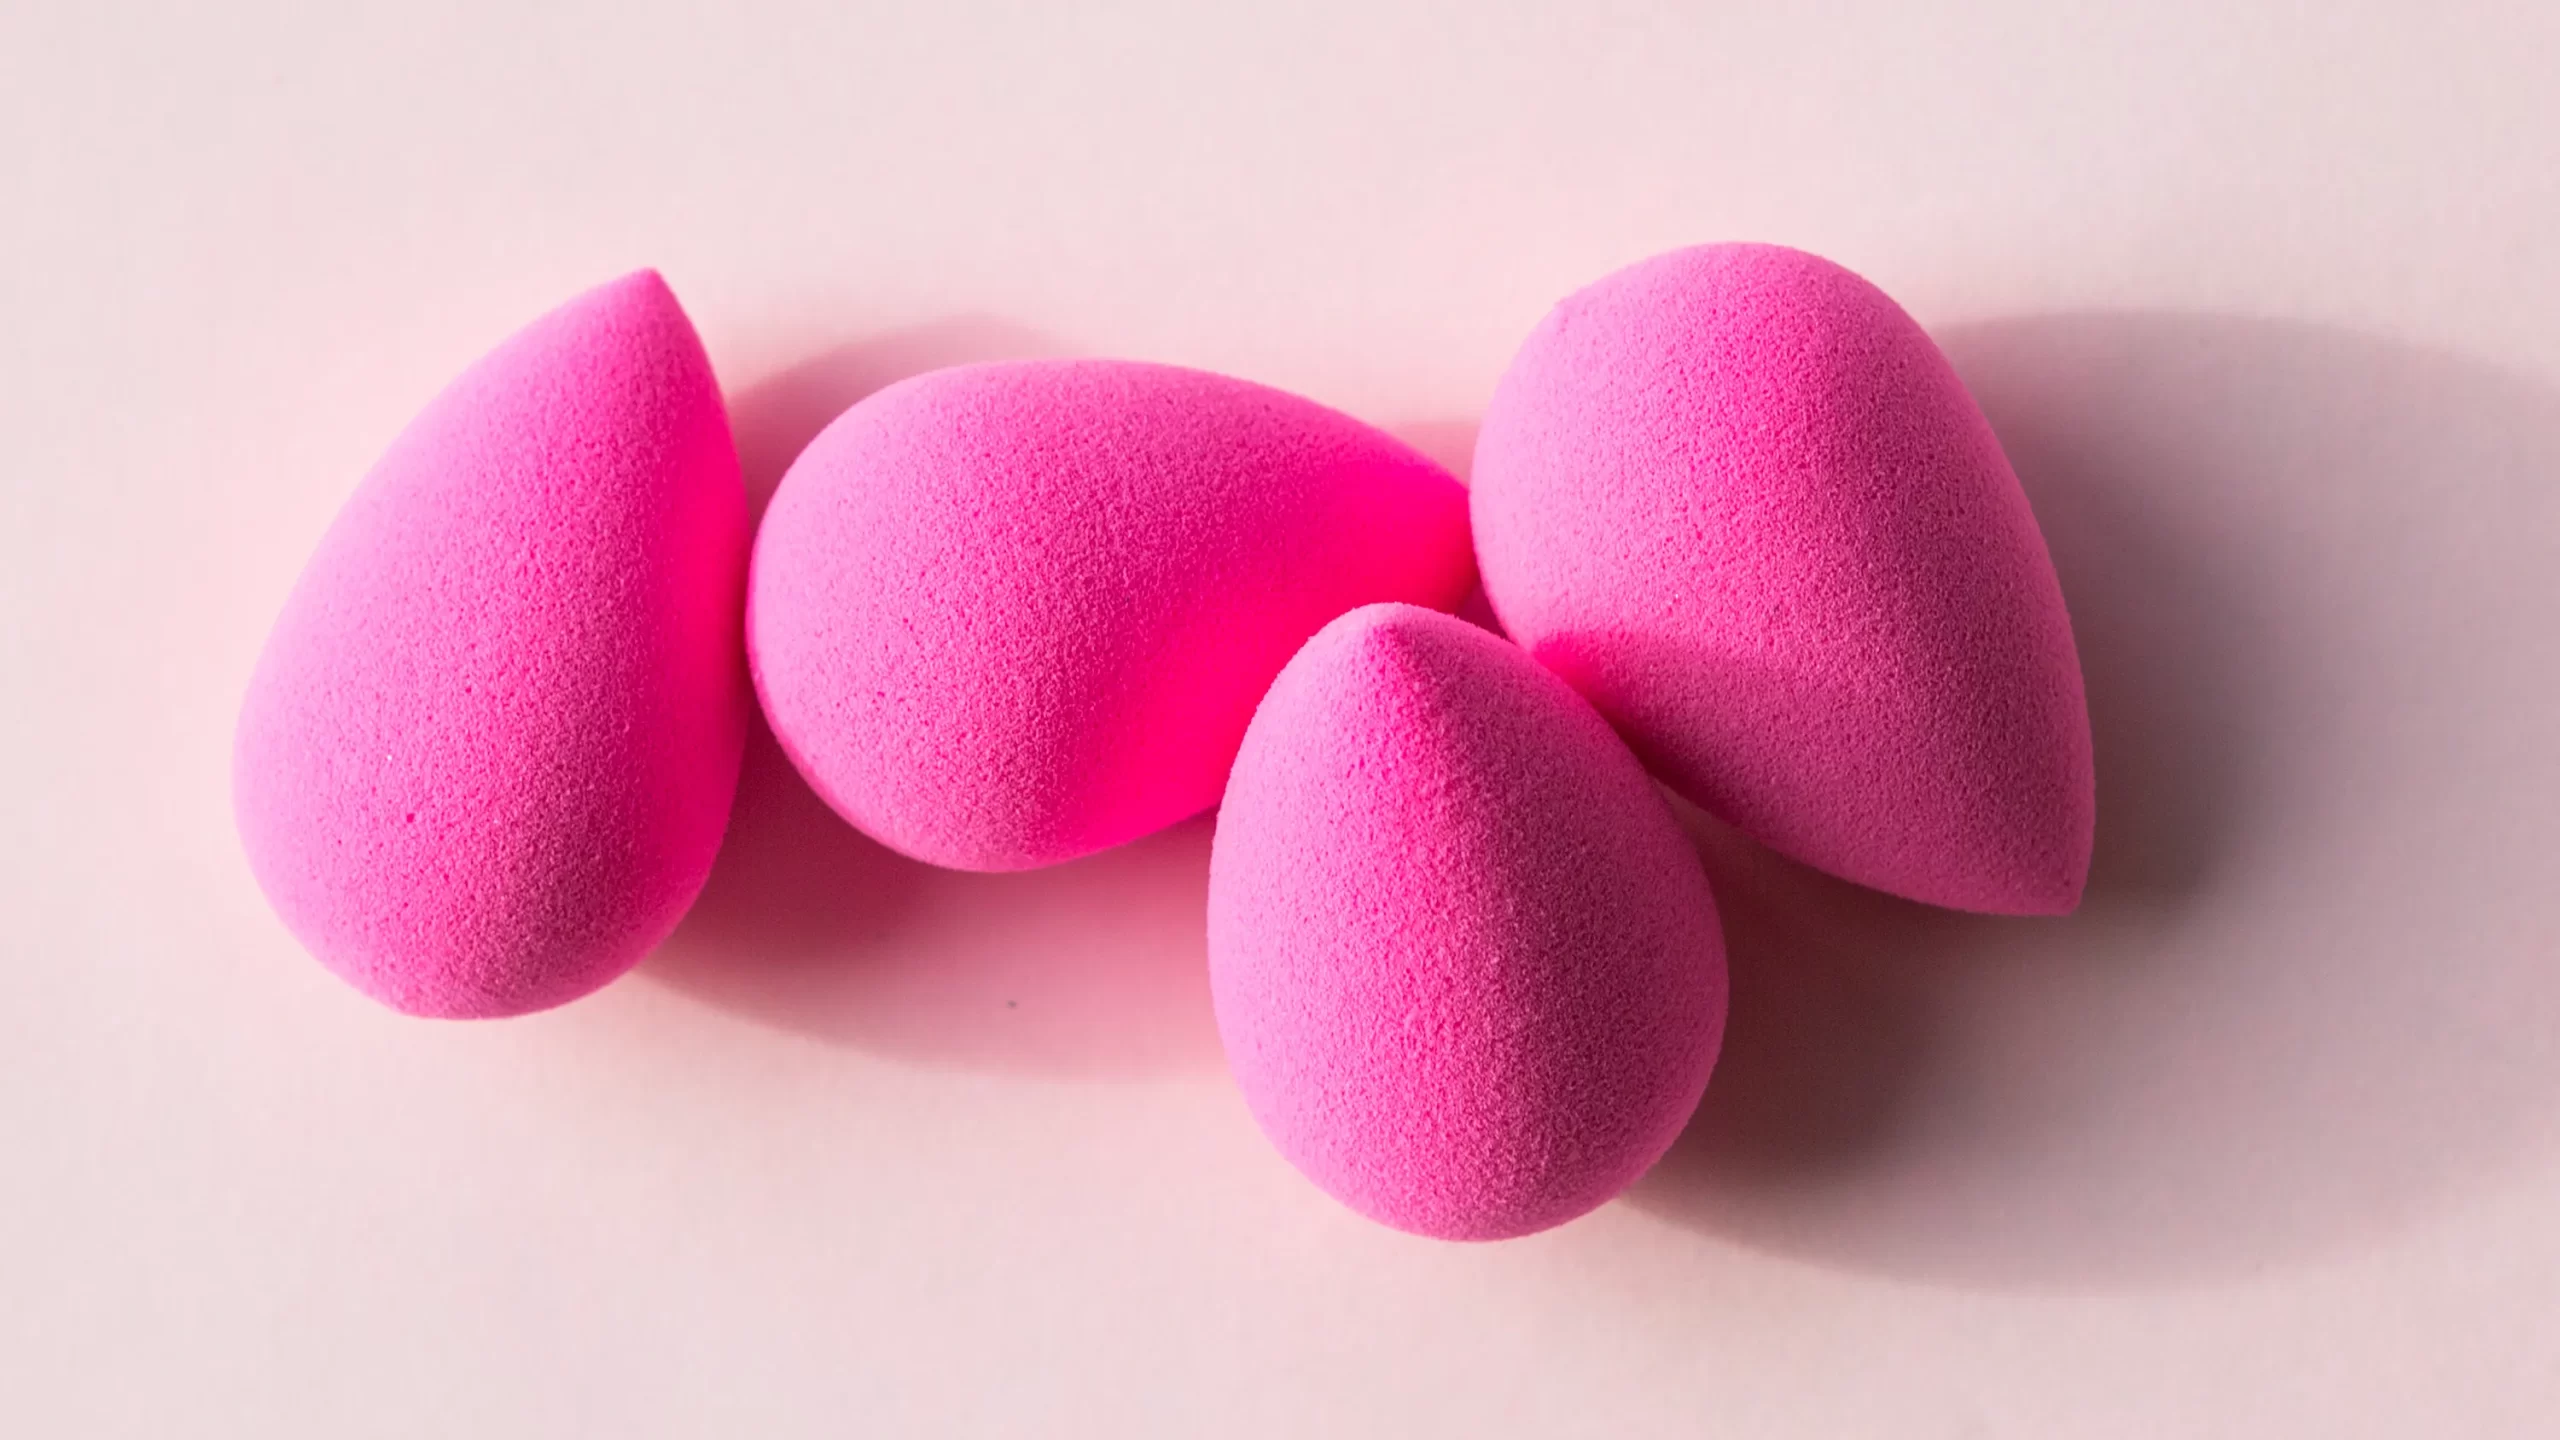
A beauty blender is so stunning and spotless before you use it even once. Your formerly flawless tiny neon egg is suddenly overwhelmed by a mass of foundation smears and old eyeliner streaks.
It’s simple and easy to wash your beauty blender, and you should really do it once a week. Washing our cosmetic sponge made it much more fun to use, and it was intriguing to see how much foundation and concealer had accumulated inside the mushy applicator over time.
Additionally, I’ve seen a reduction in breakouts over the past month, and my makeup sponge appears much prettier when it’s vibrant and rosy on my vanity. Take five minutes to cleanse your makeup sponge as a favor to yourself. Your skin will appreciate it!
An enthusiastic and creative professional lifestyle content writer open to exploring the writing world for many years. Expertising in niches such as Fashion| Beauty| Makeup| Hair Care| Health| Home Decor| Gardening| Travel| Fitness| Wellness Guides| Food Reviews & Recipes| provides Marlene with prodigious pleasure and happiness.